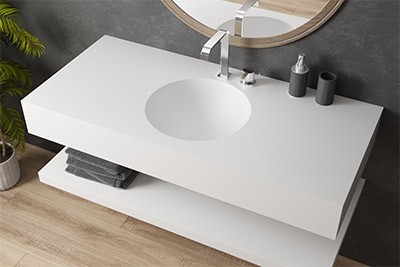

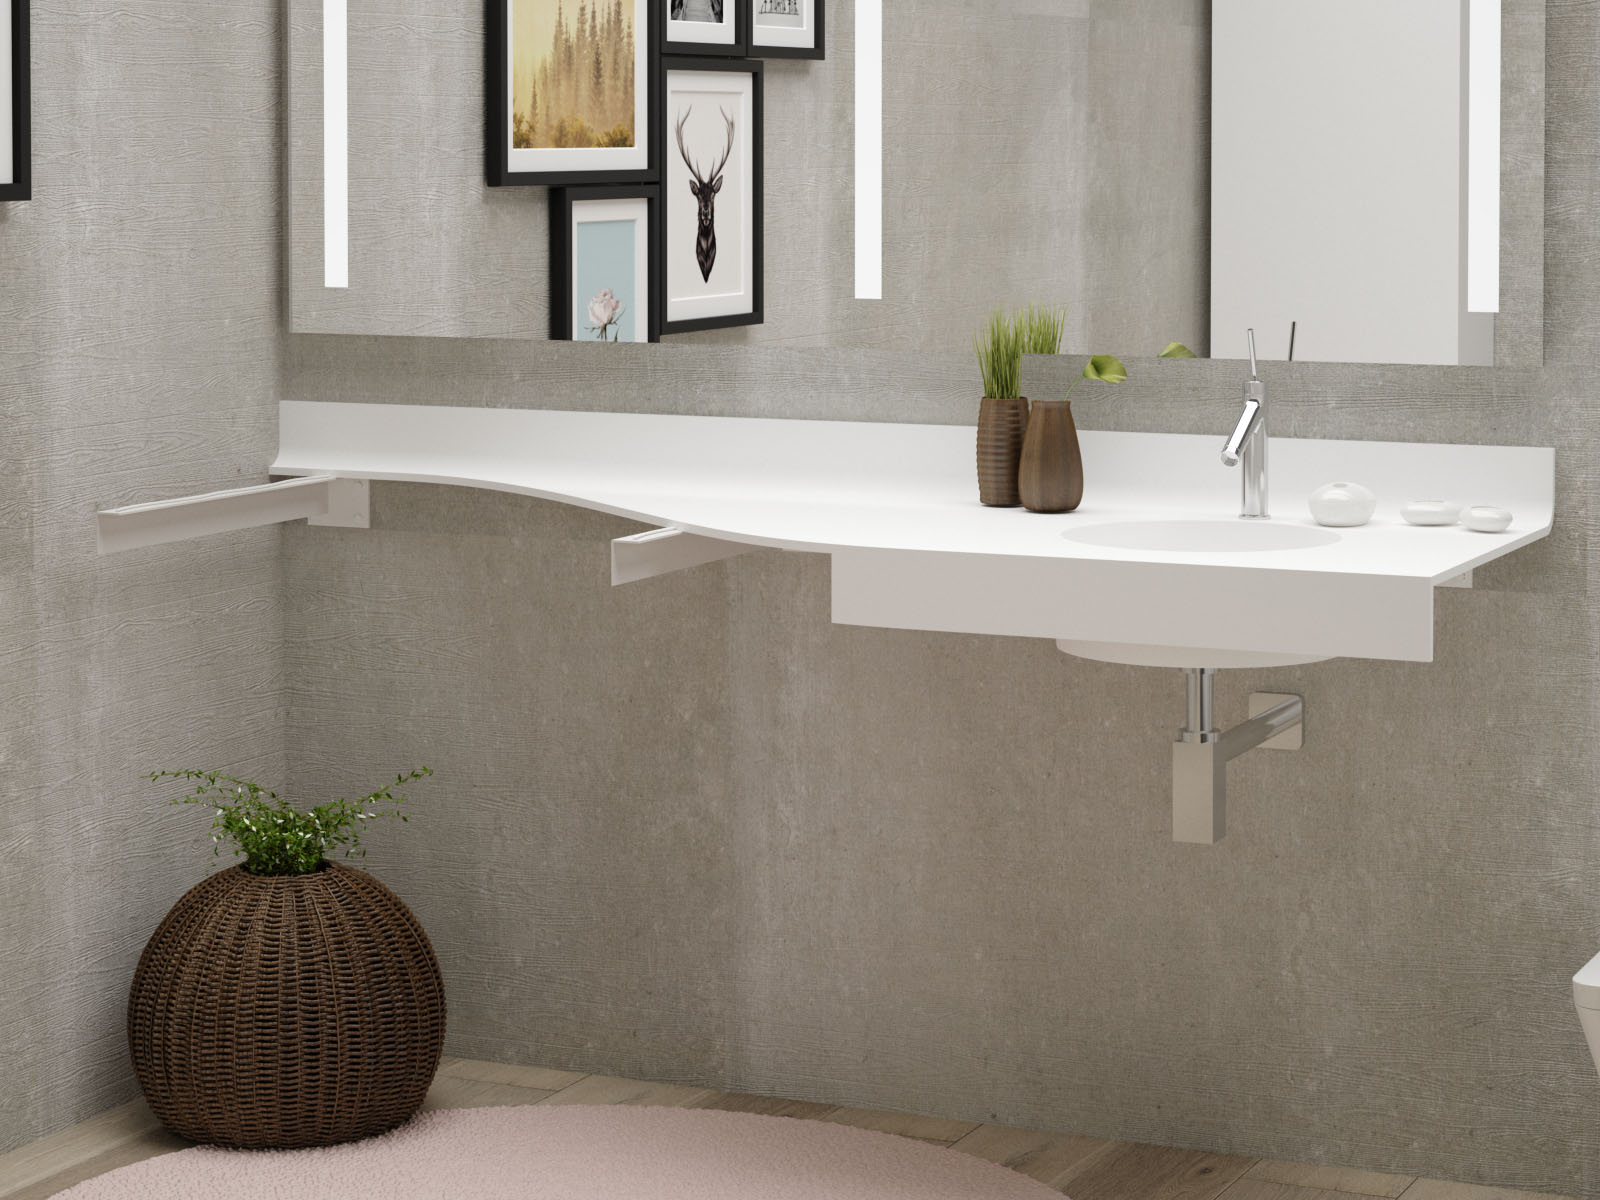
The Corian® suspended sink unit
More elegant than the washbasins and less space-consuming than a piece of furniture, the suspended solid surface vanity unit brings decoration and design to bathrooms. The more traditional pedestal washbasin is still quite suitable for some bathroom configurations. But the aesthetic trends and the reduced dedicated space to this room requires to optimize it. That is why Corian® suspended vanity units come in many shapes and sizes.
Safety and purchasing precautions
Safety principles of a suspended vanity unit
The installation of a suspended sink unit is not to be taken lightly given its weight, which can be very high depending on its dimensions. Its fixing system will be similar to that of a shelf; the surface area of the top, its weight and also the material of the wall on which the top will be installed must be taken into account. Even if Corian® absorbs impact energy better than a hard material such as earthenware, glass or stoneware, the provided fittings are designed to withstand the unit in all circumstances.
Remember: consult the installation instructions before you buy and above all, make sure that the fixings supplied are suitable for the type of wall you have in your bathroom. Don't hesitate to contact us if you have any doubts about fixing your Corian® sink unit. We are here to help if needed.
How to fix a suspended vanity unit?
Firstly, fix the flat angled brackets that will support the sink unit. Be sure to take into account the height of the unit from the floor (for example, if you want your sink unit to be 90 cm from the floor, you will have to deduct the depth of your sink to determine the position of the flat angled brackets).
Then, drill the holes in the wall according to the dimensions of the sink unit. Use wall plugs that are suitable for your walls (plasterboard plugs for plasterboard walls, expansion plugs for hollow walls). You must also ensure that the plugs are able to support the correct weight (the plugs are not supplied with our vanity units).
Once the flat angled brackets are fixed to the wall, place the sink unit. Use polyurethane glue to fix it to the wall and brackets. Allow the glue to dry for 24 hours before using the sink unit.
Once the washbasin is installed, fit the chosen taps and plumbing and connect the water supply according to the connection diagram. The tap is usually inserted in the pre-drilled hole in the sink unit, unless you use a wall-mounted tap, in which case you should ask for a washbasin top without drilling when you buy it. The connection kit supplied with our washbasin tops includes a simple drain, a PVC trap and connection pipe (there is no PVC glue in the kit).
Once all these steps have been completed, all that remains is to make a silicone seal to ensure a good seal between the unit and the wall. it is recommended to use transparent silicone, but it is best to use the same colour silicone as the unit.

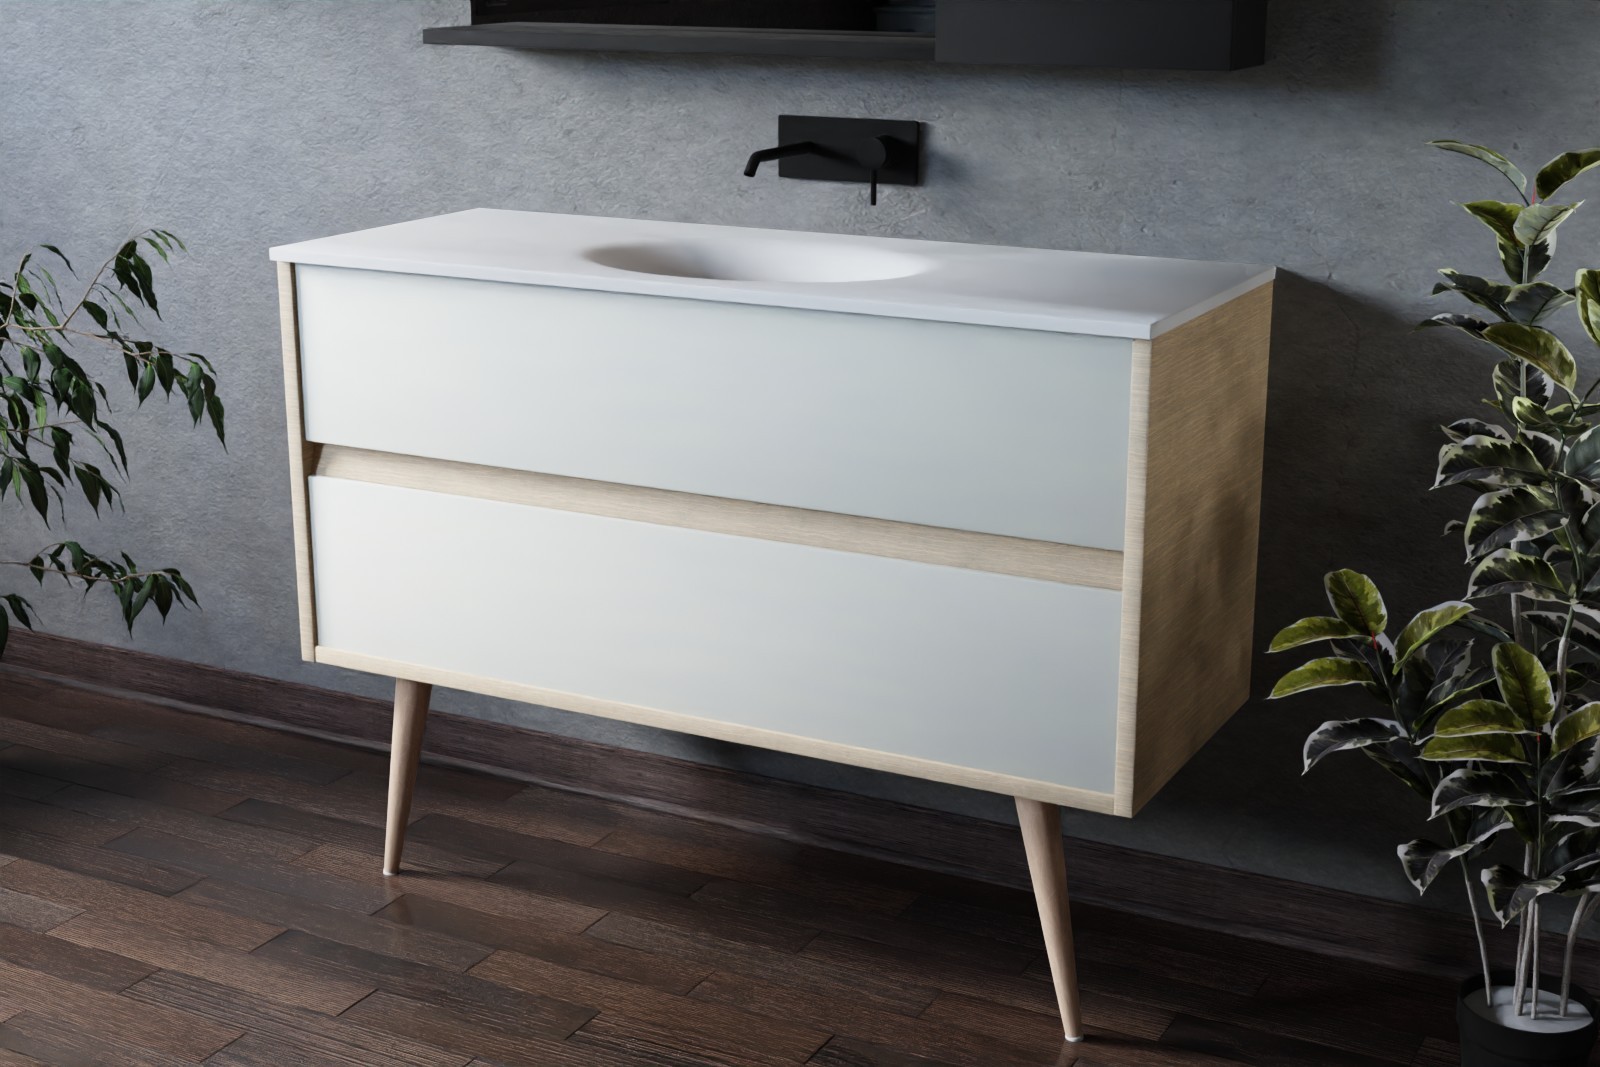
The Corian® vanity unit to fit
The main advantage of this unit is that it can be adapted to any type of surface. You may want to give a piece of old furniture a new lease of life by transforming it into a piece of bathroom furniture, simply by placing a bowl on top! Or you can buy a worktop to be fixed to the wall and put 2 bowls on it. This allows you to give a customised, inexpensive style, while taking advantage of the benefits of Corian®.
It becomes a decorative accessory and gives you the possibility to customise your bathroom space. The free-standing sink is certainly very trendy and less expensive but it will be more difficult to maintain.
How do I fix a Corian® sink unit?
As with a vanity top, you need to take into account the dimensions of your space, your expectations for the water connection and have all the tools you need to ensure the correct installation of your investment.
Some steps to follow for a good installation:
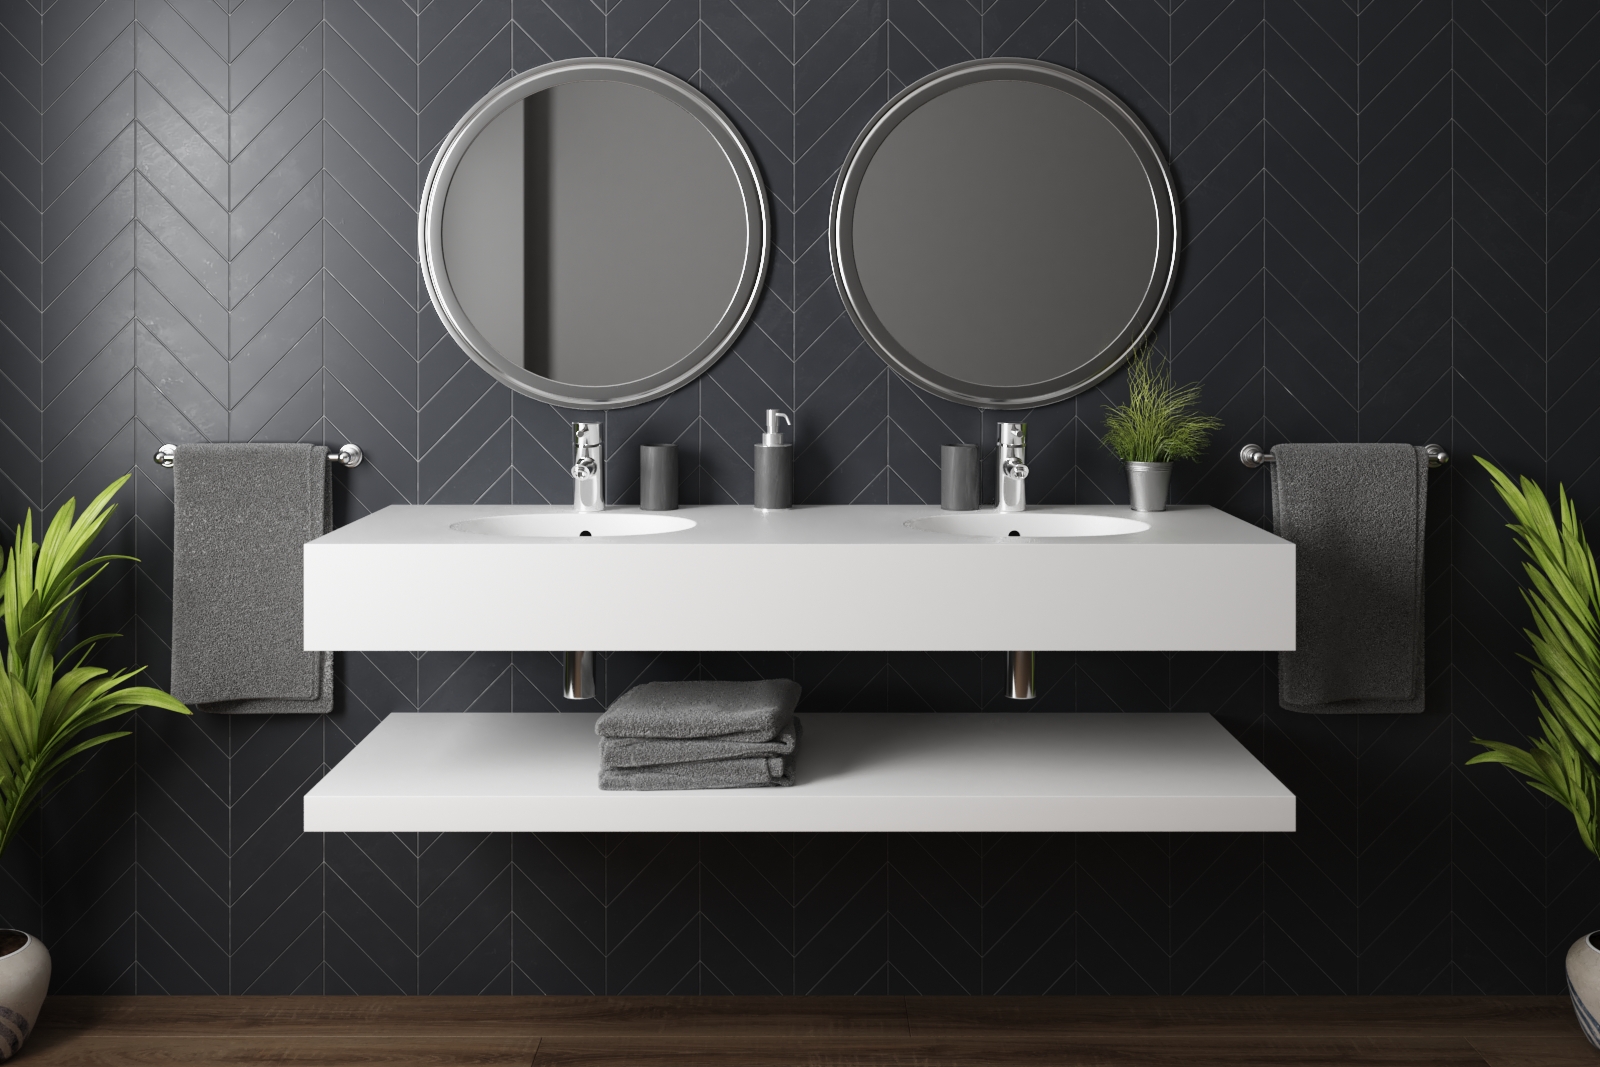
Location of the basin: if there is a single bowl, centre it. If space is required, the bowl can be shifted on the left or right. With two bowls, it is recommended to centre them
Before drilling the hole for the drain, place markers so that no mistakes have been made as it will be difficult to correct them afterwards
When installing your tap, also mark where the hole will be.
Important: when choosing your tap, check its height. you need a specific tap for free-standing bowls which will be higher than for a sinks. Do not hesitate to consult our selection of taps.
The preparation of the sink unit.
Have you followed all our recommendations? Then all you have to do is drill, fix and enjoy!
Use a hole saw (with an adapted diameter to the drain) to drill your worktop. Be careful to use a hole saw that is suitable for the material of your worktop.
If it is not fixed to the wall or placed on a piece of furniture, make sure you fix it in the same way as a suspended unit, as explained above.
Make your silicone seal to ensure a watertight seal between your worktop and your wall.
Installing the basin
Once your worktop is fixed, you can position your basin at the level of your hole and fix it with polyurethane glue.
All you have to do is apply a silicone seal around your basin drain and then you can proceed to connect your siphon and your taps.
Congratulations ! You have installed your basin !
Make sure you do some water tests to ensure that your installation is watertight.